
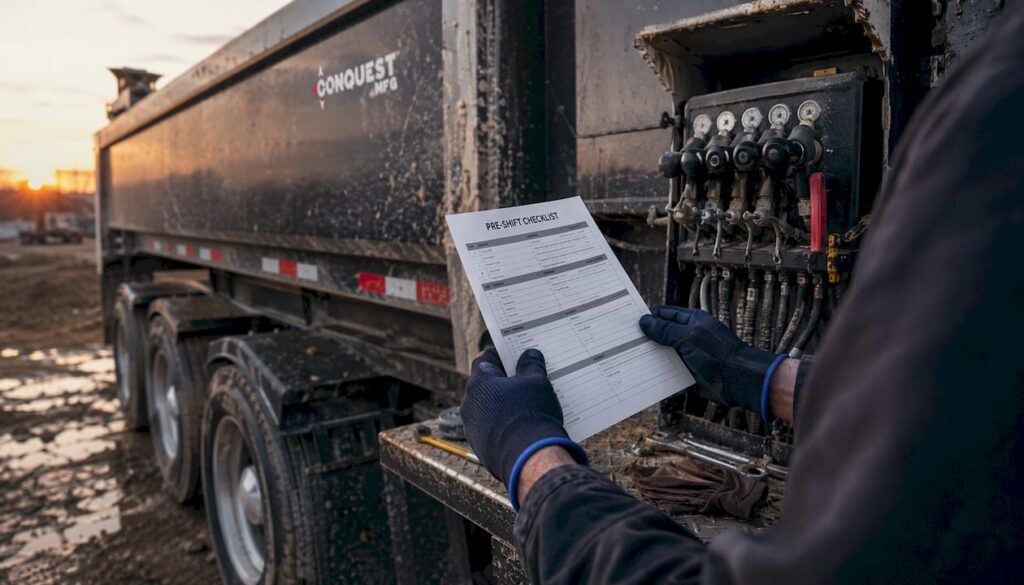
Always verify ground stability, assign a trained spotter before backing or dumping, and operate under a written SOP aligned with NIOSH and OSHA guidance. These controls, applied consistently, help reduce tip-overs and struck-by incidents on active job sites.
Three mandatory actions before every dump:
- Confirm ground is level, firm, and capable of supporting the loaded trailer
- Position a trained, dedicated spotter with direct line-of-sight to the driver before backing begins
- Follow your fleet’s written SOP; never improvise a dump sequence based on habit
Three absolute prohibitions:
- Never travel with the bed raised, even a short distance
- Never allow personnel inside blind zones during backing or dumping
- Never dump on soft, sloped, or unstable ground without engineering confirmation
A written safety program combined with a daily pre-shift inspection is the single most effective organizational control for reducing tip-overs and struck-by fatalities in end-dump operations.
Table of Contents
- What should you check before every end-dump shift?
- How do you position and load an end-dump trailer safely?
- Step-by-step procedure for raising, dumping, and lowering safely
- What must you verify before leaving the dump site?
- What does a practical maintenance schedule look like for end-dump trailers?
- How do you build a written safety program and respond to incidents?
- Quick-reference checklist for cab and site board
- Key Takeaways
- What equipment design actually does for safety
- Conquest Mfg end-dump trailers built for safer fleet operations
- Authoritative sources and further reading
What should you check before every end-dump shift?
NIOSH recommends that a competent person inspect the work area before each shift and again when site conditions change. The pre-operation inspection extends that principle to the trailer itself.
Pre-shift inspection checklist:
- Hydraulic system: Check lines, cylinders, and fittings for leaks; confirm fluid level; verify pump operation under no-load
- Tailgate: Confirm latch mechanism engages fully; inspect hinge pins for wear or cracking
- Bed support props: Verify props are present, undamaged, and lock positively in the raised position before any under-bed work
- Tires: Check pressure against manufacturer spec; inspect sidewalls for cuts, bulges, or embedded debris
- Lights and reflectors: Confirm all running lights, brake lights, and conspicuity tape are functional
- Hitch and electrical connections: Inspect kingpin or ball coupling for wear; confirm glad-hand seals and ABS connector are seated
- Structural bed: Look for cracks at weld seams, bent cross-members, or loose fasteners
The driver completes and signs the inspection log before the first load. Any failed item triggers a maintenance tag and removes the unit from service until corrected. Mechanics review tagged units and countersign the log when cleared.
Pro Tip: Use a digital pre-shift checklist app (such as Whip Around or Samsara) with photo capture. A timestamped photo of a passed tailgate latch takes three seconds and provides defensible documentation if an incident occurs later that day.
How do you position and load an end-dump trailer safely?
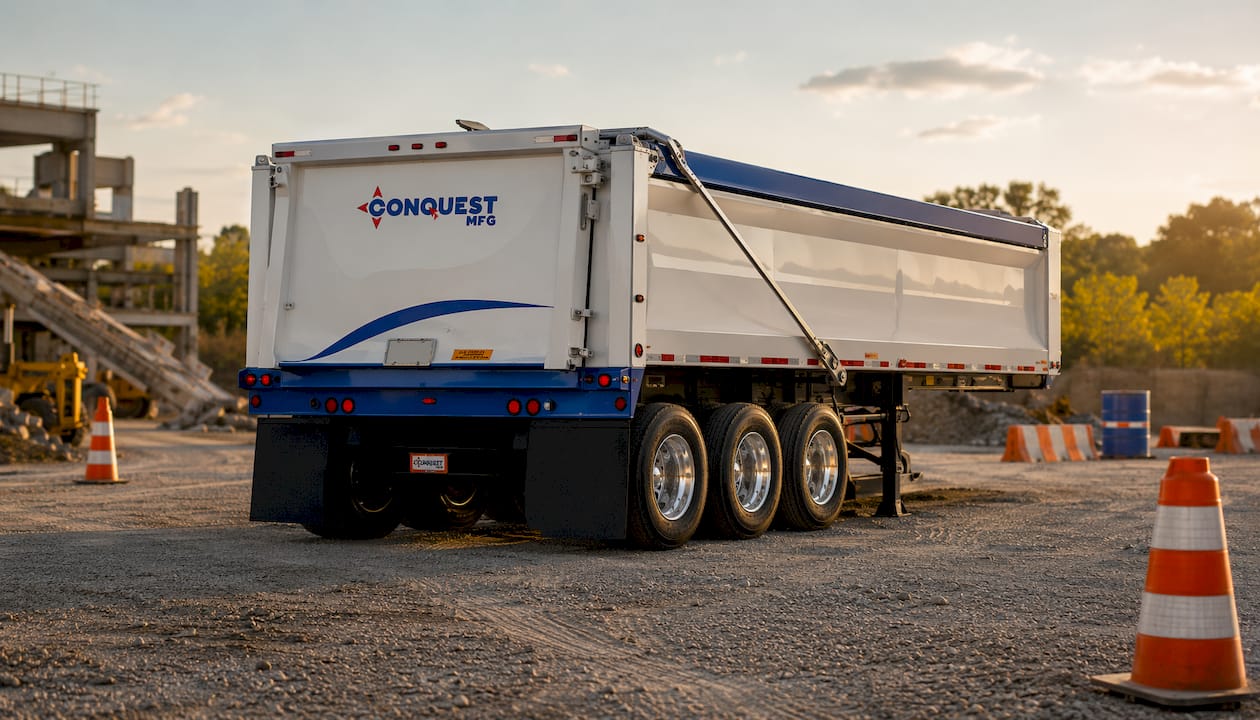
Ground conditions and load distribution are the two variables that most directly cause tip-overs. NIOSH identifies unstable ground, improper loading, and slopes as the primary tip-over causes.
Ground and site assessment steps:
- Walk the dump zone before positioning. Probe soft spots, check for buried utilities or voids, and confirm the surface can bear the loaded axle weights.
- Refuse to dump on any slope exceeding the manufacturer’s stated maximum. When in doubt, treat the site as unsafe until a supervisor or engineer confirms otherwise.
- Confirm the staging area allows forward pull-out without reversing into active traffic. Staging areas that minimize backing distance reduce both tip risk and pedestrian exposure.
Load distribution and exclusion zone requirements:
- Load material evenly across the bed width; avoid side-heavy loads that shift the center of gravity laterally
- Chock all wheels before dumping begins; remove chocks only after the bed is fully lowered and latched
- Establish a minimum exclusion zone of one trailer length to the rear and sides before raising the bed
- Position the spotter at the driver’s side rear corner, outside the exclusion zone, with a clear sightline to the cab mirror
The spotter’s role is dedicated. Once assigned, that person does not perform any other task until the dump sequence is complete. Pre-arranged hand signals or radio communication must be agreed upon before backing starts, per NIOSH spotter guidance.
Step-by-step procedure for raising, dumping, and lowering safely
Every operator and spotter follows the same sequence, every time. Deviating from the sequence because a site looks familiar is where incidents begin.
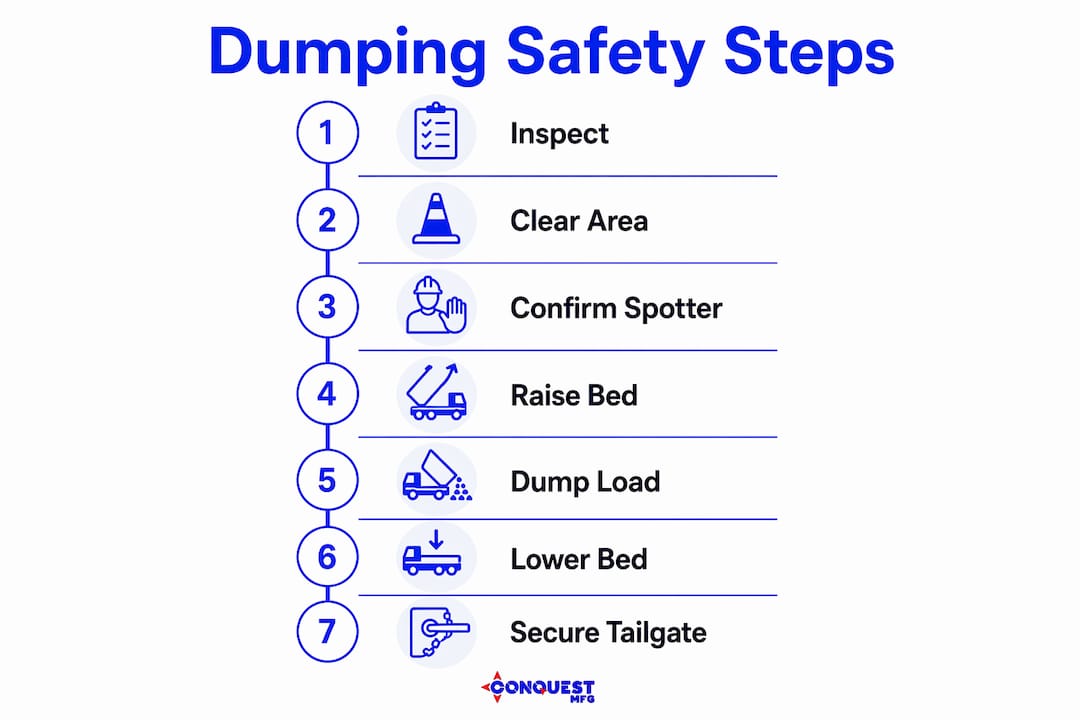
Pre-dump confirmation (driver-spotter call-and-response):
Before the driver touches the hoist control, the spotter confirms: area clear, exclusion zone established, overhead clearance verified, chocks set. The driver repeats the confirmation. Only then does the sequence proceed.
Required PPE for all personnel in the dump zone: high-visibility vest, hard hat, safety-toed boots, and safety glasses.
Operating sequence:
- Set the park brake and engage the transmission in park or neutral per the manufacturer’s manual.
- Chock the rear wheels.
- Scan overhead for power lines, structures, or overhead obstructions. The Texas Department of Insurance specifically flags overhead hazards as a leading cause of dump-related fatalities.
- Confirm the tailgate latch is released and the gate swings freely.
- Begin the lift slowly. Watch the material flow; uneven discharge can shift the center of gravity suddenly.
- Maintain spotter communication throughout the lift. If contact is lost, stop immediately.
- Once material has cleared, lower the bed fully before moving the vehicle. Do not travel with a partially raised bed under any circumstances.
- Confirm the tailgate has re-latched before releasing the park brake.
- Remove chocks and document the completed dump in the driver log.
Pro Tip: If the site requires any raised-bed movement (repositioning within a confined pour area), limit travel to the absolute minimum distance at the lowest possible bed angle, at walking speed, with the spotter maintaining visual contact throughout.
What must you verify before leaving the dump site?
Post-dump checks take under five minutes and prevent the two most common transit incidents: tailgate loss and residual material shift.
Post-dump checklist:
- Tailgate: Confirm latch is fully engaged; physically pull the gate to verify it will not swing open under road vibration
- Residual material: Inspect the bed for material clinging to corners or the tailgate seal; clear any buildup that could shift or fall onto the roadway
- Tarps and covers: Deploy and secure tarps per your state’s load-securement rules before leaving the site boundary
- Lights and connections: Confirm brake lights and turn signals are functional after any hydraulic cycling
- Chocks: Account for all wheel chocks before departure
- Documentation: Record dump completion, site conditions, and any equipment anomalies in the driver log
Any hydraulic anomaly observed during the dump (slow bed return, unusual noise, visible seepage) triggers an immediate maintenance request. Tag the unit and notify the dispatcher before accepting another load. For broader transport protocols, the guidance on secure trailer transport covers load securement standards applicable across trailer types.
Pro Tip: A 10-second phone photo of the secured tailgate and deployed tarp, timestamped and filed in your fleet management system, creates a post-dump condition record that supports both QA audits and incident investigations.
What does a practical maintenance schedule look like for end-dump trailers?
Hydraulic and structural failures rarely appear without warning. A consistent inspection cadence catches them before they become incidents.
| Frequency | Inspection Item | Failure Indicator |
|---|---|---|
| Daily (driver) | Hydraulic fluid level; visible line condition | Low fluid, wet fittings, soft hose |
| Daily (driver) | Tailgate latch and hinge pins | Loose pin, bent latch arm, gate play |
| Daily (driver) | Tire pressure and condition | Underinflation, sidewall damage |
| Weekly (mechanic) | Hydraulic cylinder seals and rod condition | Weeping seals, scored rod surface |
| Weekly (mechanic) | Fastener torque on bed cross-members and hinge bolts | Loose or missing hardware |
| Monthly (mechanic) | Bed hinge and pivot pin wear | Excessive play, cracked welds at pivot |
| Monthly (mechanic) | Bed support prop function and locking mechanism | Prop fails to lock; bent or cracked prop arm |
| Monthly (mechanic) | Full structural inspection of bed welds and frame | Visible cracks, corrosion at stress points |
Most frequent failure sources to watch:
- Hydraulic leaks at cylinder base fittings (vibration loosens compression fittings over time)
- Worn tailgate hinge pins that allow gate misalignment and incomplete latching
- Corroded latch mechanisms on trailers operating in winter road-salt environments
- Loose bed cross-member fasteners from repeated high-density load cycles
Always use a bed support prop and lockout/tagout procedures before any under-bed maintenance. Log every inspection and repair with the date, technician name, and unit ID. That log is your primary evidence of due diligence in any OSHA inspection or incident investigation. Maintenance management platforms aligned with OSHA maintenance standards can help fleet teams digitize these records and set automated inspection reminders.
How do you build a written safety program and respond to incidents?
CDC/NIOSH frames safety as an organizational responsibility. The written program is the foundation; training and incident response are how you sustain it.
Required elements of a written end-dump safety program:
- SOPs for dumping, backing, and spotter deployment
- Pre-shift inspection requirements and sign-off authority
- Operator authorization levels (who is qualified to operate which equipment)
- Spotter assignment policy and communication protocols
- Internal traffic control plan for each recurring site type
- Incident-reporting procedure and investigation template
Training matrix:
| Role | Initial Training | Refresher Frequency | Documentation |
|---|---|---|---|
| Operator | Before first solo operation | Annual | Signed training record |
| Spotter | Before first assignment | Annual | Signed training record |
| Supervisor | Before overseeing operations | Biennial | Supervisor sign-off log |
Incident response sequence:
- Secure the scene. Stop all equipment movement and establish a perimeter.
- Provide first aid and call emergency services if injuries are present.
- Preserve equipment position and condition. Do not move the trailer until authorized.
- Notify the fleet supervisor and safety officer immediately.
- Document the scene with photos before any recovery operation begins.
- Complete a formal incident investigation within 24 hours, using NIOSH FACE report methodology as a framework.
- Implement corrective actions and update the written SOP within 30 days of the investigation closing.
NIOSH FACE investigations provide real-world incident examples that work well in operator training sessions. Referencing an actual fatality report in a safety meeting is more effective than a generic slide deck.
Quick-reference checklist for cab and site board
Print, laminate, and post this checklist in the cab and at the site supervisor’s station.
PRE-OPERATION
- Ground stable and level confirmed
- Overhead hazards cleared
- Exclusion zone established
- Spotter assigned, and communication confirmed
- Hydraulics, tailgate, tires, lights inspected and passed
- Chocks available
DUMP SEQUENCE
- Park brake set, transmission in park/neutral
- Wheels chocked
- Spotter in position, call-and-response completed
- Slow lift; monitor material flow
- Maintain spotter contact throughout
- Lower bed fully before any movement
- Tailgate re-latched; chocks removed
POST-DUMP
- Tailgate latched and physically tested
- Bed clear of residual material
- Tarps secured
- Lights confirmed functional
- Dump logged in driver record
- Any anomaly reported to maintenance
For any unsafe site condition, stop the operation and call your supervisor before proceeding. Follow your fleet’s written SOP at all times. A digital version of this checklist, linked via QR code posted in the cab, allows drivers to access the current version without relying on a printed copy that may be outdated.
Key Takeaways
A written safety program, daily inspections, trained spotters, and a consistent maintenance log are the four controls that most directly reduce end-dump tip-overs and struck-by incidents.
| Point | Details |
|---|---|
| Written SOP is mandatory | Document dumping, backing, and spotter procedures before any operator takes a load. |
| Daily inspection prevents incidents | Drivers inspect hydraulics, tailgate, tires, and lights every shift and sign the log. |
| Spotters must be dedicated | A spotter assigned to the dump sequence performs no other task until the bed is down and latched. |
| Maintenance cadence matters | Daily driver checks, weekly mechanic inspections, and monthly structural reviews catch failures before they cause incidents. |
| Conquest Mfg supports your SOP | Conquest Mfg end-dump trailers include operator manuals and spec documentation to help fleet managers build compliant inspection and maintenance programs from day one. |
What equipment design actually does for safety
The conventional wisdom in fleet safety focuses almost entirely on operator behavior. That is correct as far as it goes, but it misses half the equation. The trailer you specify at purchase sets a ceiling on how safe your operation can be, regardless of how well-trained your crew is.
A half-round bed profile, for example, keeps the center of gravity lower than a flat-floor design under the same payload. That geometry difference directly reduces tip-over risk on marginal ground. A positive-lock bed support prop that engages automatically when the bed reaches full height removes a human-memory dependency from the maintenance sequence. Factory-fit camera packages eliminate the blind zones that spotters are assigned to compensate for. These are not optional upgrades; they are design decisions that reduce your organizational risk exposure before the first load is ever placed.
When you evaluate end-dump trailers, ask the manufacturer for the bed geometry specs, the rated slope tolerance, the bed support locking mechanism design, and the recommended maintenance intervals for hydraulic components. Those answers should feed directly into your written SOP. A manufacturer that cannot provide clear answers to those questions is telling you something important about the documentation you will not receive after purchase.
Conquest Mfg end-dump trailers built for safer fleet operations
Conquest Mfg designs and manufactures end-dump trailers with the documentation and specification depth that fleet managers need to build compliant safety programs from the start. Every unit ships with an operator manual covering inspection intervals, hydraulic maintenance schedules, and bed support procedures, so your team is not writing SOPs from scratch.

Fleet purchasers can request full spec sheets, hydraulic system documentation, and maintenance interval data at the point of purchase, reducing the time between delivery and a fully documented safety program. Conquest Mfg’s construction industry solutions include configuration options relevant to your site conditions and payload requirements. Contact Conquest Mfg to request product documentation or discuss a safety-spec consultation for your fleet.
Authoritative sources and further reading
Use these primary sources when drafting SOPs, training materials, and inspection templates:
- NIOSH Publication 2023-137 — The primary U.S. guidance document for dump truck safety. Covers written programs, spotter requirements, staging areas, and tip-over causes. Use this as the policy-language foundation for your SOP.
- NIOSH FACE Report Index (CDC) — Real-world fatality investigation reports with targeted recommendations. Use case studies in operator training sessions for maximum impact.
- Texas Department of Insurance Dump Truck Safety Tips — Concise driver-level guidance on seat belts, raised-bed travel, and lighting. Useful as a driver handout or training slide reference.
- CPA Guidance on the Safe Use of Dumpers — UK-origin planning and method-statement framework. Useful for structuring risk assessments and recorded method statements, even in a U.S. context.
- TTMA TB-74 End Dump Trailer Operation — Truck Trailer Manufacturers Association guidance specific to end-dump trailer operation. Reference this when aligning your SOP with manufacturer-recommended procedures.
Cite NIOSH 2023-137 and TTMA TB-74 directly in your written SOP. Include hyperlinks to the NIOSH FACE reports in your training slide decks so supervisors can pull current incident examples without searching.